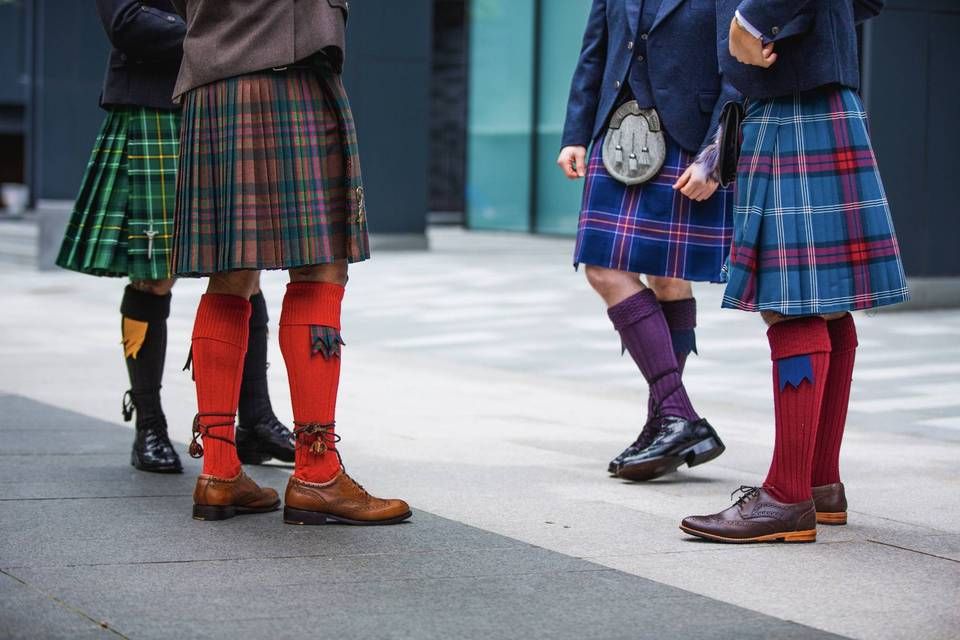
Ever wondered how a kilt is actually made? It looks simple, but there’s real skill behind those pleats.
Whether you want to try making one yourself or just want to understand the process, here’s a simple breakdown.
Step 1: Choose Your Tartan Fabric
Everything starts with the fabric.
- Pick a tartan that matches your clan, or choose a universal one
- Wool is the traditional choice for a Premium Wool Kilt
- Lighter fabrics work well for casual or everyday kilts
- Make sure you have enough fabric — most kilts need several yards
The fabric quality affects how the kilt looks and how long it lasts.
Step 2: Take Accurate Measurements
This step matters a lot. A kilt that doesn’t fit right won’t sit or move properly.
You’ll need to measure:
- Waist (where the kilt will sit, usually at the natural waist)
- Hips
- Length (from waist to the middle of the knee)
Write these down carefully. Small mistakes here can throw off the whole kilt.
Step 3: Plan the Pleats
Pleats are what give a kilt its classic look and movement.
- Traditional kilts use knife pleats or box pleats
- The pattern in the tartan should line up neatly through each pleat
- More pleats mean more fabric, but also a fuller look
This step takes patience. Getting the tartan pattern to match across pleats is one of the harder parts of kiltmaking.
Step 4: Cut the Fabric
Once measurements and pleat planning are done, it’s time to cut.
- Lay the fabric flat and mark your pieces clearly
- Cut the apron pieces (the flat front sections) first
- Then cut the pleated section for the back
Always double-check measurements before cutting. Fabric mistakes are hard to fix.
Step 5: Sew the Pleats
This is where the kilt starts taking shape.
- Fold and pin each pleat in place
- Stitch them down at the waist to hold the shape
- Leave the bottom of the pleats loose so the kilt can move naturally
Many kiltmakers hand-stitch this part for a more traditional finish.
Step 6: Attach the Waistband and Straps
Now it’s time to add the parts that hold the kilt in place.
- Sew on a sturdy waistband
- Attach leather straps and buckles on both sides
- Make sure the straps are strong, since they take most of the pressure when worn
This is also where you’d add belt loops if you want to wear a Leather Kilt Belt with it.
Step 7: Hem the Bottom
The final step is finishing the edges.
- Fold and stitch the hem so it doesn’t fray
- Check that the length is even all the way around
- Press the pleats one more time so they hold their shape
Once this is done, your kilt is ready to wear.
Making a Kilt vs Buying One
Making a kilt by hand takes time, skill, and patience.
- A traditional handmade kilt can take many hours to complete
- Getting the pleats and pattern matching right takes practice
- Many first-time makers use a Kilt Making Kit to help simplify the steps
If you don’t have the time or tools, buying a ready-made kilt is often easier — and just as high in quality.
Final Thoughts
Making a kilt is a real skill, not just sewing fabric together. From choosing the tartan to planning pleats and finishing the hem, every step matters. If you’d rather skip the process, visit our website and browse our ready-made kilts — each one crafted with the same care and tradition, ready to wear without the hassle of making it yourself.

 -41%
-41% -41%
-41% -50%
-50% -41%
-41% -41%
-41% -41%
-41% -50%
-50% -41%
-41%