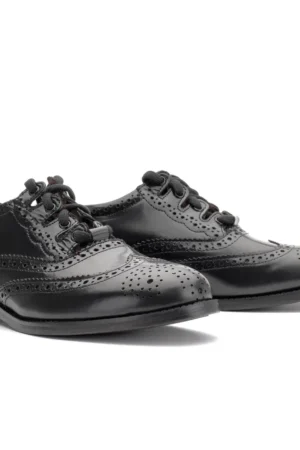
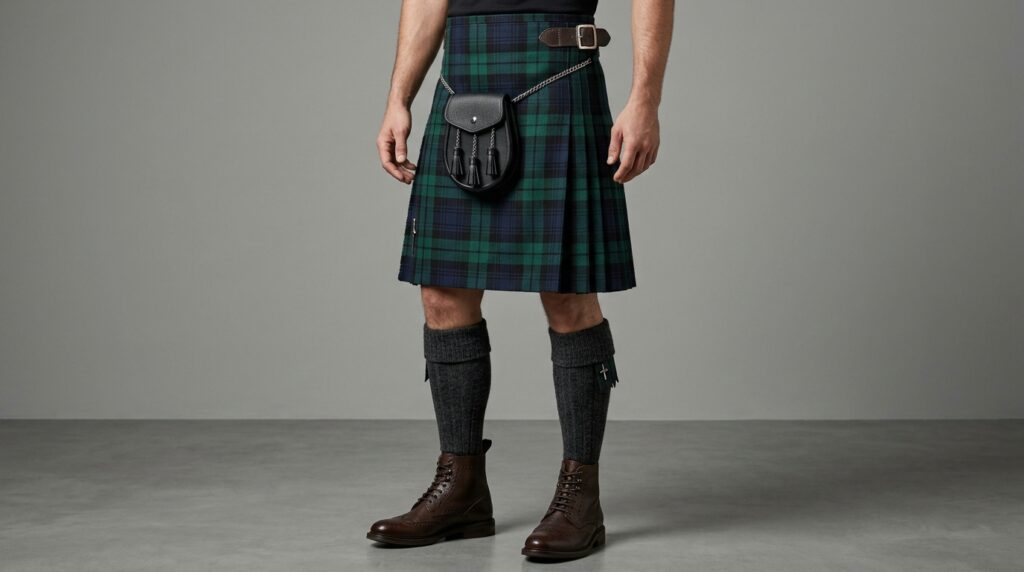
Ghillie brogues look great with a kilt, but tying them can feel a bit confusing the first time. The long laces and no-tongue design are different from regular shoes.
Here’s a simple guide to help you tie them the right way.
What Makes Kilt Shoes Different
Before tying them, it helps to know what makes these shoes unique.
- No tongue, unlike regular dress shoes
- Long laces designed to wrap around the ankle
- Made to be worn with kilt hose
- Common with Ghillie Brogues, the traditional kilt shoe
Once you understand the design, tying them becomes much easier.
Step 1: Put On Your Kilt Hose First
Before putting on the shoes, get your socks sorted.
- Pull up your Kilt Hose to just below the knee
- Add Flashes if you’re going for a traditional look
- Make sure the socks sit smooth and even
This makes it easier to see how the laces will sit once tied.
Step 2: Put the Shoes On
Slide your feet into the ghillie brogues.
- Make sure your foot sits comfortably inside
- Check that the shoe isn’t too tight or too loose
- Adjust the fit before you start lacing
A good pair from our Ghillie Brogues category should feel snug but not uncomfortable.
Step 3: Start Lacing From the Bottom
Begin tying just like a normal lace-up shoe.
- Cross the laces at the bottom and pull through
- Continue crossing and pulling up toward the ankle
- Keep the tension even on both sides
This part is similar to tying regular shoes, just without a tongue in the way.
Step 4: Wrap the Laces Around Your Ankle
This is the part that makes kilt shoes different.
- Once you reach the top, start wrapping the laces around your ankle
- Cross them at the back, then bring them to the front
- Repeat this wrapping two or three times, depending on lace length
This is what keeps the shoes secure and gives that classic kilt look.
Step 5: Tie Them Off
Finish the look with a simple, secure knot.
- Tie the laces in a small bow or knot at the front or side
- Tuck in any extra lace length so it doesn’t hang loose
- Make sure the knot feels secure, not too tight
A neat finish makes the whole outfit look sharp and put together.
Step 6: Check the Fit and Comfort
Before heading out, do a quick check.
- Walk a few steps to test comfort
- Make sure the laces aren’t cutting into your ankle
- Adjust if anything feels too tight or loose
Comfort matters, especially if you’re wearing them for a full day event.
Tips for a Better Fit
A few small tips can make a big difference.
- Choose the right shoe size from our Formal Kilt Footwear range
- Break in new shoes before a big event like a wedding
- Pair with proper Kilt Hose for the best traditional look
- Keep laces even on both legs for a neat appearance
When to Wear Ghillie Brogues
These shoes aren’t just for looks, they fit specific occasions well.
- Weddings and formal Highland dress
- Burns Night celebrations
- Highland games and cultural events
- Anytime you’re wearing a full Tartan Kilt outfit
Final Thoughts
Tying kilt shoes is simple once you get the hang of the wrap-around lacing style. With a bit of practice, you’ll have them tied perfectly every time. Visit Great Kilt to shop ghillie brogues, kilt hose, and full Highland outfits, all in one place.